
Bike boots need to be safe and ready for anything the road might throw at them.
But how do we know they’re really up to scratch? Thankfully, most motorcycle boots are now approved to the CE standard, which tests them for resistance to abrasion, penetration by sharp objects and lateral crushing.
If the boots pass other optional tests that’s marked on the CE label too. Our guide will explain how they’re tested and what the label shows…
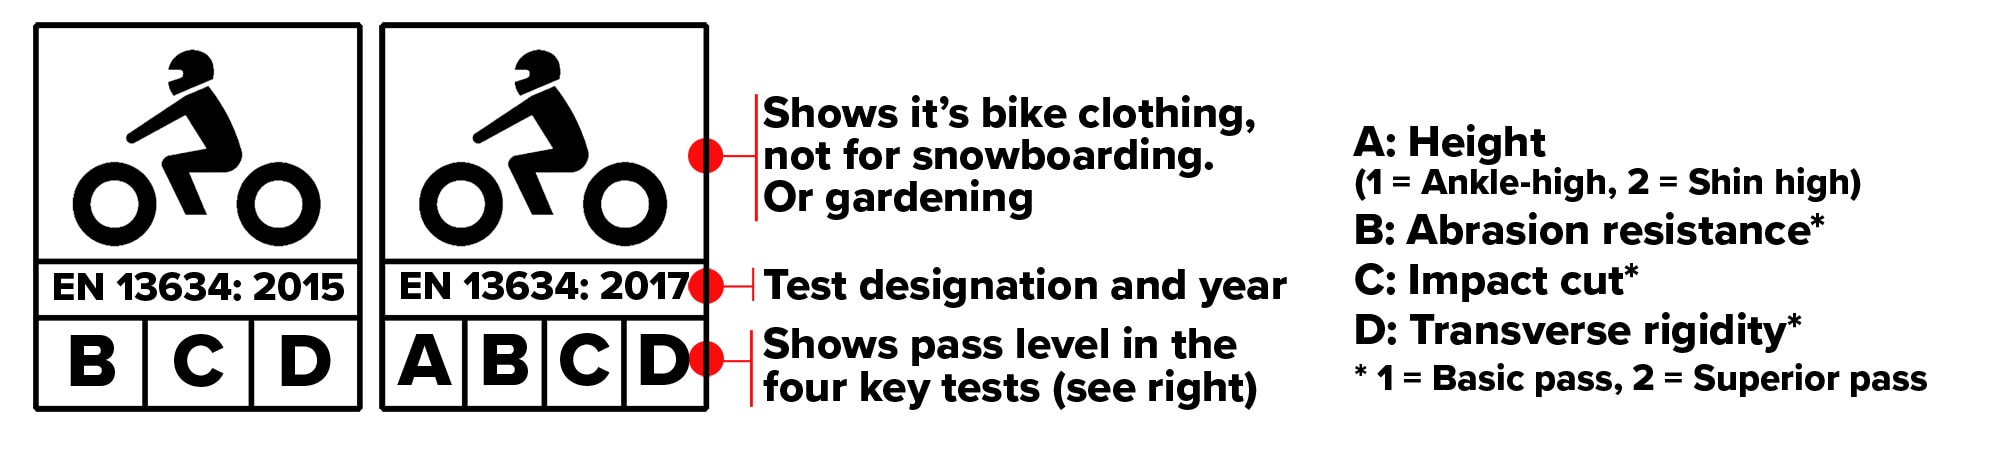
Reading the label…
The label consists of a motorcycle icon, the designation of the test they’ve passed and then a series of up to four numbers. The numbers will be either a ‘1’ for a Level 1 pass or a ‘2’ for a Level 2 pass, which is superior. Our image will explain what each part of the label displays.
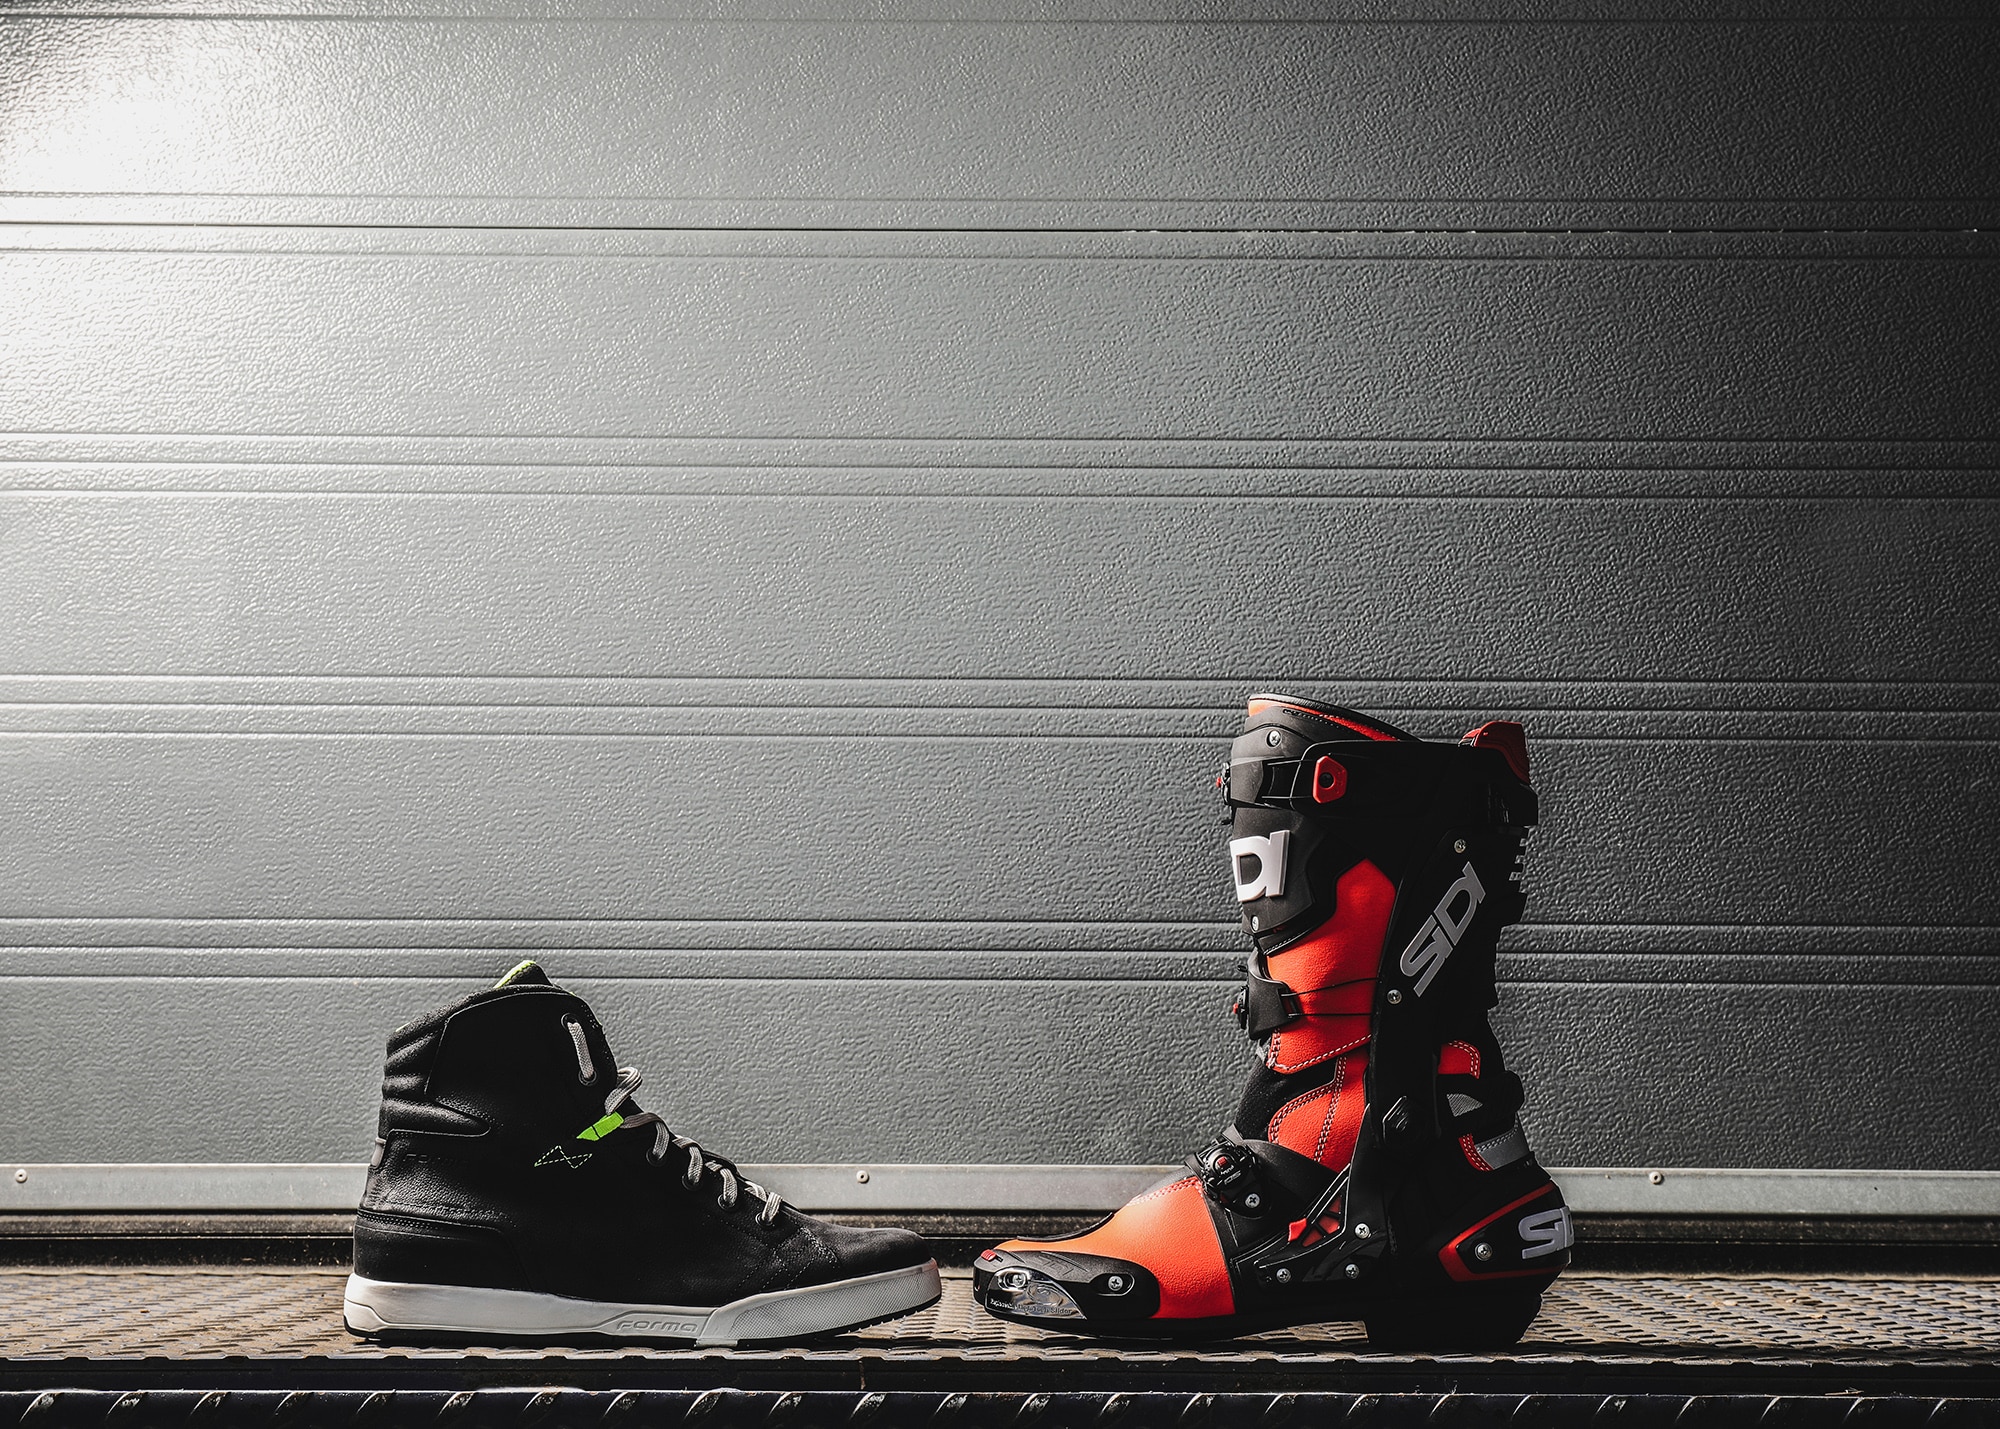
Once it’s clear whether you’re looking at a short or long boot, there are technical tests to check a boot performs in a spill. They are…
Abrasion resistance
If you went sliding down the road, you’d want to know your boots wouldn’t wear through. The abrasion resistance test is designed to check how well boots will stand up to this type of punishment.
For testing, the boot is divided into two areas – Area A covers the sole, front and back of the boot, where you’re most likely to find stretch panels, and everything else is Area B.
Three samples of material are cut from the boot and each is held against a moving abrasive belt until a hole appears. The shortest time it took for a hole to develop in one of the samples dictates the boot’s abrasion rating.
For basic Level 1 approval, samples cut from area A must last 1.5 seconds, and samples from area B need to last five seconds. To reach the higher Level 2, area A samples need to last 2.5 seconds or longer, while area B must survive at least 12 seconds without wearing through.
Impact cut
Next, the boots are tested to see how they’d hold up if they came up against a sharp object. For this, a blade attached to a mounting block is dropped onto a sample of the boot, and apparatus measures how far the blade goes through the boot. The tests use the same areas as the abrasion test (see above) and the blade is dropped at different speeds to test each area.
When testing area A, the knife will be dropped at two metres per second (m/s). For a Level 1 and a Level 2 rating, the knife can’t protrude through the material by more than 25mm.
Area B is tested by dropping the blade at 2.8m/s. For Level 1 approval, the blade can’t go through the sample by more than 25mm. To pass Level 2, the maximum it can go through is 15mm.
Transverse rigidity
The transverse rigidity test determines how strongly the boot can resist your foot being crushed if a bike’s weight fell on it.
The boot is laid down with the widest part of the foot positioned between two plates, which squash together at a rate of 30mm per min. Apparatus records the force required to compress the sole at that rate. The machine is turned off when the plates stop compressing the sole, when the force is clearly remaining constant or when the sole has been crushed by 20mm. This test is repeated three times.
If it took less than 1kN of force to compress the sole to 20mm, the boot fails. If it took 1kN-1.4kN the boot takes a Level 1 pass and if it needed 1.5kN or more to compress the sole it achieves a Level 2 pass.
Optional tests
Manufacturers can submit their boots for optional extra tests. Passes in these tests will be represented on the label with letters underneath the mandatory test ratings.
IPA/IPS: Impact protection to the ankle and/or shin
These show boots with approved impact protection.
For this test, the boot is cut along the sole and opened up, and a striker is used to drop 10 joules of force onto the protector.
To pass, the protector can’t allow more than 5kN to be transmitted through it. If the ankle protection passes, the letters IPA will be on the label, and shin armour will be displayed as IPS.
WR: Resistance to water penetration
To see if water leaks through the boot, it can be tested in one of two ways. It can be clamped to a machine with the toes flexing to replicate 4600 steps while the foot is submerged in water, or a person can wear the boot and walk 1km (100 x 10-metre lengths) in shallow water. To pass in either method, areas of dampness inside the boot can be no bigger than 3cm².
FO: Resistance to fuel and oil on sole
Two samples of a boot are weighed twice – once normally and once in distilled water. The sample is then left soaking in fuel at 23 degrees for 22 hours, taken out and weighed in the same ways again. To pass, the weight of the samples shouldn’t increase by more than 12%.
SRA/SRB/SRC: Slip-resistance of sole
Three tests make up the one rating for slip resistance. Each test is done with a mechanical heel set at a seven-degree angle, which moves to imitate different kinds of slips and falls on different surfaces. If the label shows ‘SRA’, the sole will have passed on a ceramic tile surface treated with diluted soap. ‘SRB’ means it passed on a steel floor treated with glycerol. ‘SRC’ means the boot passed both tests.
B: Breathability of uppers
If a CE label has the letter B on it, it means the boot has gone through an optional test to check that moisture vapour can escape.
WR: Water absorption/desorption of inner
The boots are tested to see how much water the insides hold and how much they release. If the boots pass this test, ‘WAD’ will be displayed on the label.